When you wish to print something, what comes into your mind first? Well actually, you need to know what are you going to print. You may be end up checking every online printing websites in Google, or you can visit every single printing shop in your city. In other case that maybe after all those efforts driving around and scrolling around Google, you did not met any printers who are able to make what you have as idea into an artwork, what’s next?
Worry Not. Printoka is here online, ready with what you need. We have templates ready at your download and editing. We have most of the standard product templates available for you to use, such as business cards, flyers, brochures, greeting cards, paper bags, presentation folders, bill books and documents, and many more. Guess what, all of them are free of charge!
So the next question is, how am i going to use the free templates? Here are some guidelines and illustrations for your better understanding. First of all, you are able to find our templates in three different formats: Photoshop version, Illustrator version, and PDF version.


These blank templates will act as the purpose to show you the pre-defined guidelines, knowingly the Bleeds, Safe Zone, and Trim Line. These three important lines will help you understand better on the specification that we printers will apply in every step of printing process. Next, you will be checking out on the importance of each lines in our templates.
The Full Bleed Line
Table of Contents
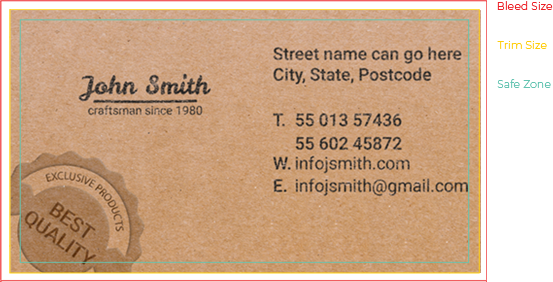
Full Bleed simply means the artwork size that you are required to prepare. Full Bleed Sizes always larger than the actual printing size. While you are preparing your artwork, you are required to extend your artwork background until the entire full bleed area is filled. This is to prevent any possible white lines at your printed job’s edge. Refer to illustrations below for better understanding.
This full bleed area has been intentionally left empty.
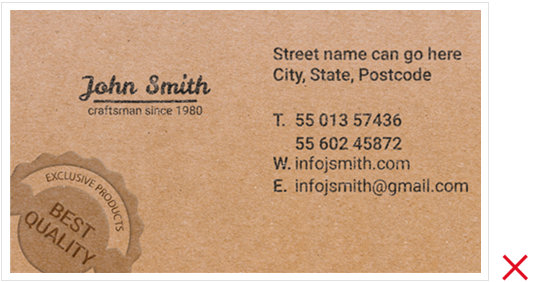
Hence, the outcome will be as below:
The Trim Line
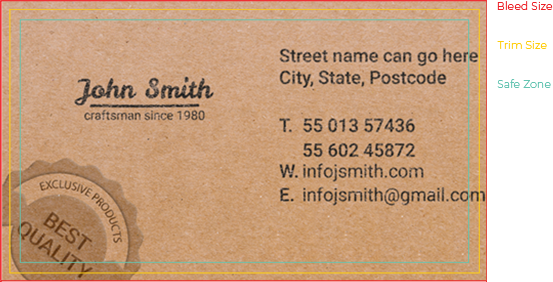
The Trim Line simply represents the cutting line that we will apply on during the final stage of printing. The Trim line will also illustrates the actual size of the finished prints. Therefore, it is strongly advised that you do not put any texts, frames, or images on or near this trim line. Any border printed, might have an issue of uneven size as all trimming machines will require an allowance of roughly 2mm for trimming. You may refer to illustration below for a better understanding on the outcome.
The text has been intentionally left near the trim line.
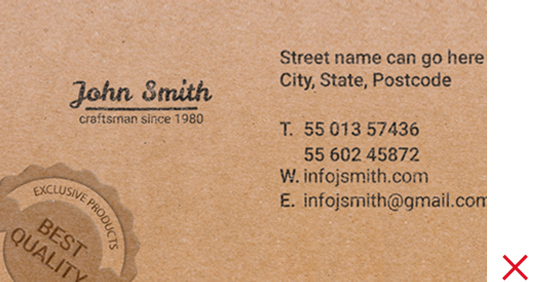
Hence, the outcome will be as below:
The Safe Zone
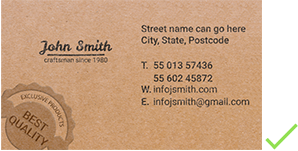
The Safe Zone is the area which you should keep all the important text, images, or any messages within it. The safe zone will also be the margin of each artwork, which keeps all the message safe, tidy, and elegant. To keep the prints proportionate, we highly recommend that you are to use our free templates accordingly to the safe zone guideline. Refer to illustration for a better understanding.
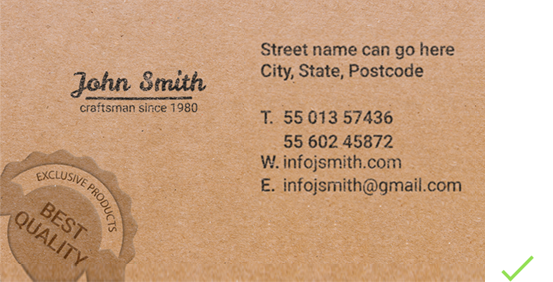
The business card artwork that has been submitted for printing.

The final outcome of the printed business card.
Additional Tips for your Artwork
Do Not add any Crop marks on any of your artwork. Keeping it clean and simple will get the job done.
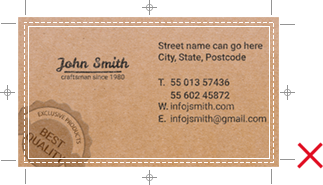
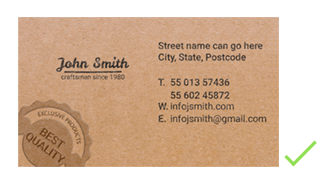
You are required to remove all the guidelines before your submission.
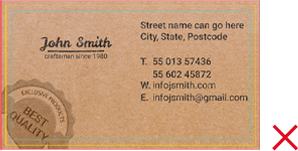
With all the information above, you should be able to get a clear understanding on the significance of the Bleed Line, Trim Line, and Safe Line. If you find the article useful, feel free to sign up or subscribe to our website, so you are able to keep updated to all promotions and new products available in our website. Printoka Malaysia will always be glad to assist you in your printing needs. There is another article that we think its worth your reading if you wish to learn more about Color Management, and Image Resolution. Find out more at printokabrunei.com




 Contact us